The table is 8′ x 6′. I use the random terrain generator in the Tobruk Supplement to create the landscape.

As I have now got my DAK battlegroup together I need to sort out three things. Firstly, as a battlegroup I get some Special Rules these are: Panzermarsch, Combined Operations, Mobile Warfare and Vehicle wear and tear. With all Special rules I will explain them as they come into play.
The second thing to sort out is how many units on both sides have special rules for Officers (or Senior Officer). The Germans have 5 officers including their Senior Officer. Each turn both sides roll, for a platoon game, 2D6 dice and add their current (they do get killed) Officer number. This total gives you the total number of orders you can make that turn, remembering that each model (or group of infantry) requires a singular order to do something. The British have a similar number.
The second factor to sort out is the number of units on each side that have the Scout special rule, in this case, by coincidence they both have 3 scouts. If you have more scouts than the other side you get to go first – and place your scouts out first. I have had Battlegroups with no scouts – it’s not a good idea as the enemy can use their scouts to get in the way, or even call down artillery.
For this game I am playing the Attack/Counterattack scenario in the main rule book. As we both have the same number of scouts we put the Recon units out alternatively, a dice roll indicating who is first. From the next turn, D6 units are then placed on the respective table edges each turn until all are placed. This game requires 4 objectives, again placed alternatively by the players.
Finally, before even Scouts are placed on the table any Timed barrages/air attacks are marked for the turn they arrive, and the pre-registered point on the table they attack. Don’t forget them – I have before – I now cut a small card and write all the data on that to remind me (I also have the Special rules on cards – so I deal out the relevant ones so I don’t forget them)
So with Scouts out, the battle is ready to start in earnest!
The Germans are going first, they roll for Orders dice – and start issuing orders and moving/firing/ etc each unit one by one, then the other side goes (IGOUGO). In this scenario units only come on in a dribble. As I don’t have a Anti-tank gun line to deploy behind before counter attacking I’ve decided to go as hard as I can and knock the British off their feet. For this I am going to use my Battlegroup ‘Panzermarsch’ special rule. I can only use it once but it doubles the dice I can use to see how many units come on – I am hoping for a high number, get my tanks on and go for the British. Coupling this with my Timed Artillery and Air Strikes and hopefully Blitzkrieg is reborn!!!
Remember I have also 2 pairs of 105mm Howitzers lying off table in direct support (they are not in a pool they are attached to my force – so I only need a coms test to get a spotter round) , plus a 2nd priority artillery request – my problem I have just realised is that I only have one Artillery spotter – with the HQ – big mistake – probably needed to get a recon unit that could artillery spot as well.
So 2d6 plus 5 (the officers modifier) for total orders, and 2d6 (this turn only) for the amount of units entering.
Turn 2 (Turn 1 is putting the scouts out): Germans, 10 Units on – 7+5 of which can have orders, not bad – the German tank attack rolls forwards. Firing requires an order as does a movement, you can move and fire, fire and move or just move or fire. All the units of both sides have individual stats regarding movement and gun abilities. You can also put your units on a kind of overwatch, as well as a reserve move (where you move in your opponents turn). A static aimed fire order, Open Fire, means you get 2 shots.
With the last remaining order the Recon 231 ‘Open Fires’ at a British Rolls Royce armoured car. This is Aimed fire, first step is observe, then fire to hit. The L55 20mm AutoCannon has a rate of fire of 2 under the Open Fire order. Need 2+ (no modifiers) to see a stationary vehicle in the open – It passes. Then roll two dice to hit – needing 5+ (no modifiers) – both hit. After this the Rolls Royce armour is cross referenced with the 231’s penetration – a ‘O’ armour rating at a 1 penetration requires 8+ to destroy (greater=destroyed, less = glancing shot, equal = pinned and double 1 = immobilized). On a roll of 9 the Rolls is destroyed. First blood to the Germans. The Rolls does not get a chance to reply as it was not on an overwatch order.

The Silver Shadow burns bright
Not only do the British lose a vehicle, they are required to take a Battle counter – this random pick ‘may’ indicate a number that is taken off the starting Battle Rating. When the Battle Rating gets to zero the force is broken. There are however other counters in this mix which create other events – such as air attacks, or breakdowns etc. The number is kept secret by the player, a poker face is useful!
The British decide to fling the Honeys forward (they have a fast move) to try to create a battle line to slow down the German tank assault. They move and fire from the deployment zone – but only get a glancing hit on one German tank. It’s required to take a Morale throw, but passes easily.

The Honeys move up to the soft sand area
The British also bring on a 25pdr to use in an Anti -tank role as they are desperate to stop the German rush
Turn 3 and the Germans continue to pour forward – moving and firing – one scores a hit on a Honey brewing it up (and the British have to take another Battle Counter). The 231 fired and made a Honey take a morale check – it passed. On the flank the Italian Motorcycle unit shoots up the Brits LRDG team. Another Battle counter for the British. It’s all going good for the Germans so far – the pressure is on the British.

The Germans push forward through the dust and smoke
In the British turn the remaining Honeys return fire – they are not moving so observe and fire at a better rate, the 25pdr also fires directly at a PzIIIG – both sadly for the British, miss. The British HQ, containing the Artillery observer attempt to use the 1st Priority request they have. In this case an order has to be used to request the fire, as it’s a 1st priority its 3+ to succeed. They pass. Next a Communication test has to be made, the British decide at what level up they are requesting Artillery support, Regiment, Division or Corps with the Artillery getting heavier as they go up. The British choose Division level and need 4+ to succeed, they fail. However the Radio car has a Special Rule, Communications, which allows it to re-roll a Communication check. The British re-roll and pass. They now have 4 25pdrs prepared to lay down a barrage immediately on the Germans.
The target has to be in direct vision of the Artillery spotter, up to 70″ range. The British choose a point within the German tanks and roll for a spotter round deviation, this comes down 10″ away from the initially chosen spot. The British are desperate though, so instead of cancelling the fire order (and thus not losing their 1st Priority request) they go for it – the deviated spot is still within range to do damage.
So the next order is fire for effect. This means you always need two orders to get an artillery barrage. Each tube gets 2 shots, so 4x25pdrs translate to 8 rounds coming in. This becomes 8 dice rolled on the Barrage accuracy table – 1 a miss, 2-5 pinning, 6 direct hit. The British get 6 pins and 1 direct hit within the 10″ radius of the firing point. A direct hit is worked out using the side armour of the vehicle against the HE penetration effect of the gun – they surprisingly fail (the 25pdr has a 5 penetration – pretty good in context of the year), and the vehicle survives a morale check. The vehicles with pins have cover saves, which as moving tanks in the open automatically fail meaning they are pinned. Pinning stops vehicles being ordered, so they cannot fire or move until the pin counter is removed.
With all the pins the German attack could be stalled. A 25pdr barrage is pretty effective even if it fails to kill.
Turn 4, with 15 orders the Germans fire what tanks they can against the Honeys – scoring a pin. The HQ decides to go for a 2nd Priority request, which they fail. As they failed they don’t lose it though and can try again next turn.

The German HQ and Radio vehicle
The Germans are not that worried though – they have both an Artillery barrage and a Stuka attack timed to hit this turn. The Artillery is 4x150mm guns. As a Timed barrage its pre-registered so it does not need to have a communication check or a spotter deviance roll. It is 8 tubes firing in to the pre-chosen spot – and within a 10″ radius it can effect anything. The Germans get 1 hit and 6 pins. The hit is allocated to the deployed 25pdr gun. The HE effect of a 150mm is 7 dice at 3+ to hit – resulting in 4 hits – the crew have cover saves but fail so the 25pdr (with only 4 crew) is considered destroyed. Another battle counter for the British. The rest of the pins are on the Honeys, however they pass morale tests.
Flying in on a timed attack is a Stuka, with 1 large bomb and 4 small ones. The large bomb has an armour penetration of 15 and a HE effect of 11 dice at 2+, the little bombs have 9 and 7 dice at 3+. The planes are pretty effective if you can get them on target. For this you treat planes as indirect artillery and roll as per the barrage accuracy (above), because it’s a dive bomber it gets to re-roll 1 dice. The attack adds to the units pinned but makes no direct hits. The British have no AA on table to chase it away, but as an air attack they have to take another Battle Counter, meaning they are at 13 already! The British pull a ‘low ammo’ counter and play it immediately on a PzIIIG, meaning it has no more ammo left (so basically useless as an attacking tank). I didn’t buy a supply column so I have no way of resupplying this tank – effectively I just lost one from the battle line.
At the end of their move the Germans rally – they pay one Battle counter for each D6 to rally pinned units. All are cleared by the use 2D6.
British turn 4 – what can they do? The Germans are all set to make another rush forward, and the British tanks are all pinned or not on table.

The British sweep around the flank with the Matildas and carriers
The Brits decide to go for the 1st Priority Artillery strike again – they get 4x 25pdrs but the spotter round lands too far south of the German tanks to inflict much damage – they decide to hold off firing for effect and keep their Artillery request intact. The Brits rally most of their pinned units but their Battle Rating is now up to 18.
Turn 5. The Germans attempt to get their 2nd Target Priority again at 4+ and succeed. Attempting to get Divisional level guns they fail, use the Communications Special Rule of a re-roll and fail gain!! Not good. The Request has not been fulfilled though so is still not lost.
The German command then use orders to bring the attached 105mm batteries – these sadly get no direct hits and just cause pins. With fewer orders only the German front line of tanks move forward, managing to take down a Honey in the process.

The German recon patrol pass the knocked out LRDG patrol in the dunes
The Brits move more units up – another 25pdr moves to Anti-Tank mode and the A13’s move to a shooting position.

They have one last card to play though. Another 25pdr Timed Barrage. Amazingly the three tanks on the German front line are hit and destroyed!!! The balance swings back to the Brits – I am stunned, from a position of power I have my tank guts torn out!!

The Germans succumb to Artillery fire
The Germans are now on 18 Battle Counters. I decide that I can’t effectively attack the Brits with the diminished resources I now have!!

The Italian Infantry still waiting to go on
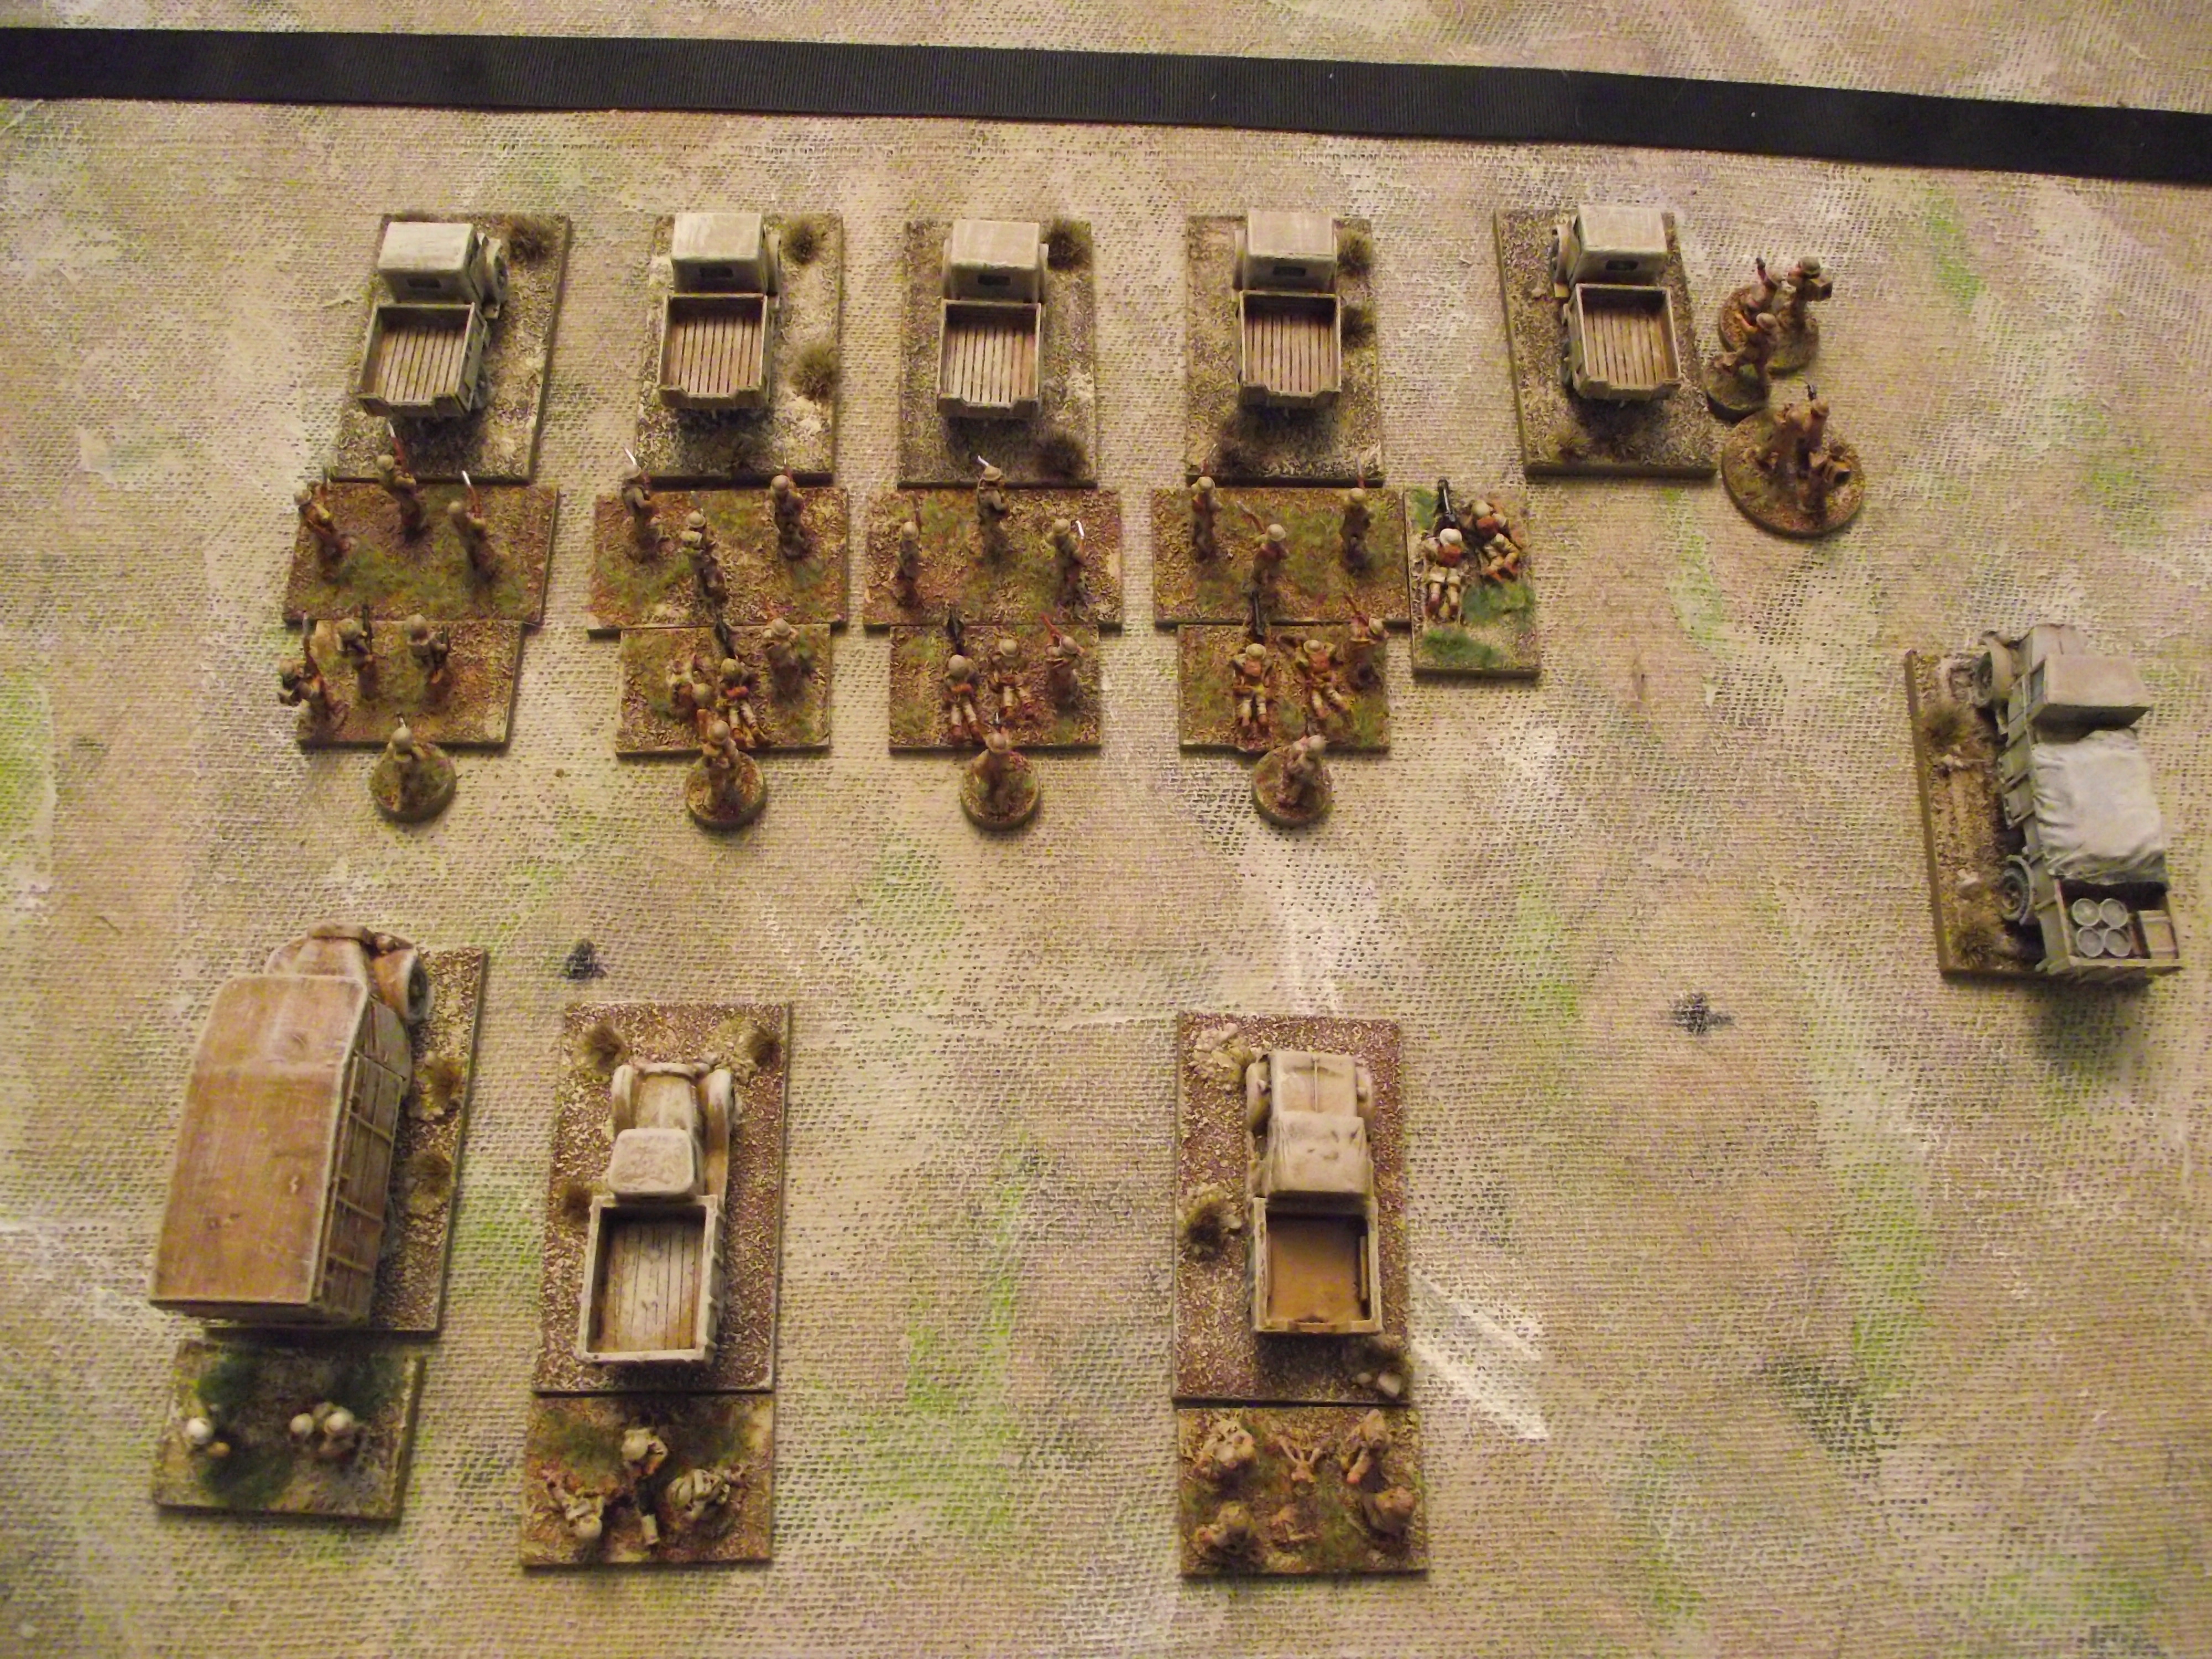
The Brit infantry waiting to go on
So my plan to hit fast didn’t quite come off. I reckon for these tactics to work if I pare down the infantry some more, cut our things like the Ambulances and medics (sorry troops) I could have wrangled some more tanks – with the artillery coming down I could have fought on. The German 105mm seem a lot less effective than the British 25pdr. Artillery does not come with much BR so I risk making my force quite brittle.
As to the rules, well they can be a little over complex. They are very elegant, well written and cover all the bases but I feel sometimes there are tables to roll against which really are not needed (the cover save table for one). However you soon learn them and the rule checking becomes less frequent.
I’ll play these again, quite a few times I expect.

Very nice battle report (and your previous report on building a force was also well done)! One item I noted, was that you let the Brits use an AMMO LOW counter on a tank. According to the rules, that can only be played on an infantry unit or gun, not on a vehicle. Also, even if your tank runs out of main gun ammo, it still has its machine guns—which can be effective against infantry targets—that was the reason tanks were invented after all!
LikeLike
Ahhh………thank you, excellent piece of information.
LikeLike
Great write-up! Thanks for posting. /Mattias
LikeLike
Thank you
LikeLike
Why did you have the Honeys roll morale for being pinned by artillery? A pin is a near miss, not a direct hit.
LikeLike
You are of course correct – I just checked!!!!
If it’s aimed fire vs vehicle – and the roll is equal or less to the required penetrative roll then there is both a pin and a morale check – last game we played we ended up with a few abandoned vehicles…..felt about right (remebering all those photos you see of tanks with no damage but all the hatches are open and no crew aorund)
LikeLike
We’ve always felt that ammo restrictions on tanks were unnecessary for most vehicles, particularly early war when the rounds themselves were so small: the Honey carried 147 rounds of 37mm for example – more than enough for the time frame of our tabletop battles. So we save the paperwork and use the low ammo counter on AFV’s too.
LikeLike